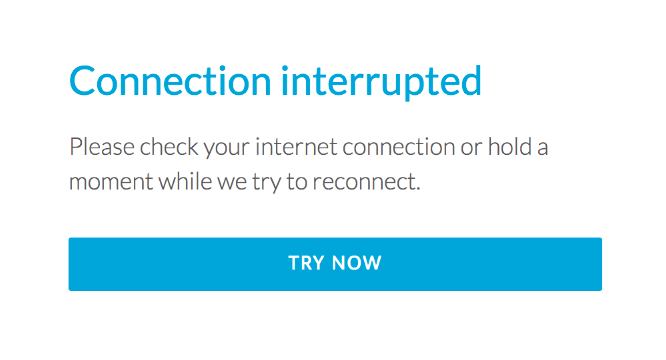
Often people are not able to enjoy Twitch owing to the fact that they have to encounter the Twitch error. But you do not have to worry at all because we have listed a few of the ways by which you can easily get rid of the error without much inconvenience or trouble. A few of the methods are listed below-
1. Refreshing your Twitch Stream.
The very first thing you need to do is to simply refresh the Twitch stream so that you can get rid of the error. But even after refreshing the Twitch stream, if you are not able to get rid of the error, then follow the next step as given.
2. Check your Internet Connection.
Check if you’re able to browse the Internet without any issues. If there is no problem in browsing the Internet but you are able to experience problem while using Twitch, then the best method to get overcome it is to restart your Wi-Fi router (your Wi-Fi box) and then reconnect back to your Wi-Fi. See if the issue is resolved or not, if not, try the next fix.

3. Restarting your PC.
Now, next step is to restart your PC so that you need to start all the apps once again. Also, while doing it, check whether any update is there or not, if not, then only restart the PC otherwise, closes all the apps and stops all the updates, and then restarts your PC.
4. Turn Off Your VPN or Proxy.
Open up your VPN — ExpressVPN, NordVPN, etc. and simply jump into the VPN’s dashboard and turn it off temporarily. Now, close your browser and check if the issue is resolved or not, if not, try the next fix.
5. Disable Enhanced Anti-Tracking for Ghostery.
Open up Ghostery and then click on the shield icon. From there, simply just turn it off and it disabled the Enhanced Anti-Tracking mode that most likely may have affected your Twitch streams. See if the issue is resolved or not, if not, then try the next fix.
![]()
6. Turn Off AdBlocker.
Open up your ad-blocker (uBlock Origin, AdGuard, AdBlock/AdBlock Plus, etc.) and then simply disable it. See if the issue is resolved or not, if not then try the next fix.
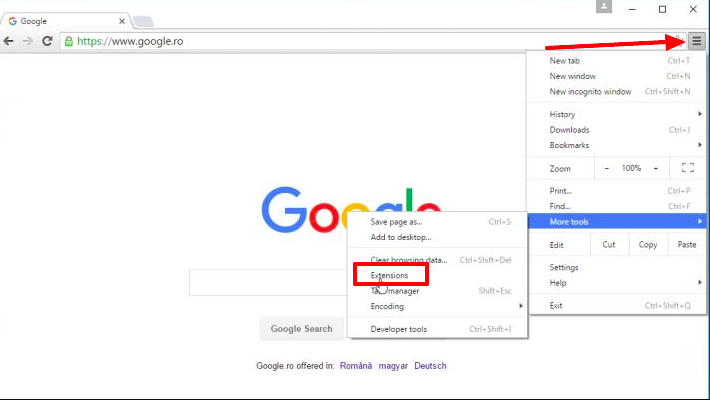
7. Disable any Browser Extensions.
It is seen that sometimes the browser extensions cause a lot of problems thus, it is better to remove or disable them to get rid of the error. Right-clicking on the extensions and then hit the Remove from Chrome button or Remove on other search browsers.

8. Jump Ship to Firefox to Check.
Check if the browser is causing this issue or not. Sometimes, the web browser often do not let anything happen smoothly, thus, it is important to update the browser or remove the current one and install a new one.
9. Disabling your Antivirus Temporarily.
- To turn off the Firewall, right-click on the CA Shield icon in the system tray, click My Internet, then click Disable Firewall.
- To turn it back on, right click system tray icon, click My Internet, then click Enable Firewall.
- To temporarily disable the Antivirus, right-click the CA Shield icon in the system tray, click My Computer, then click Enable Snooze.
- Enter the snooze time in minutes (up to 999, approx 16 2/3 hours) in the box and click Snooze.
- To end snooze, follow the same procedure and click Wake Nowon the page for entering snooze time.
- To disable Antivirus on a longer basis, double-click the CA Shield icon in the system tray.
- When Security Center comes up, click Update Settingsin the My Computer tab.
- Then click the red X next to Auto Scan.
- To re-enable, follow the same procedure and click the green checkmark.
Conclusion
Thus, you see these are some of the ways by which you can get rid of the error. Simply follow one or the two steps laid down above and perform all the steps carefully to get rid of the error. Also, it is important to keep your important files at place so that they are not lost in any manner.
