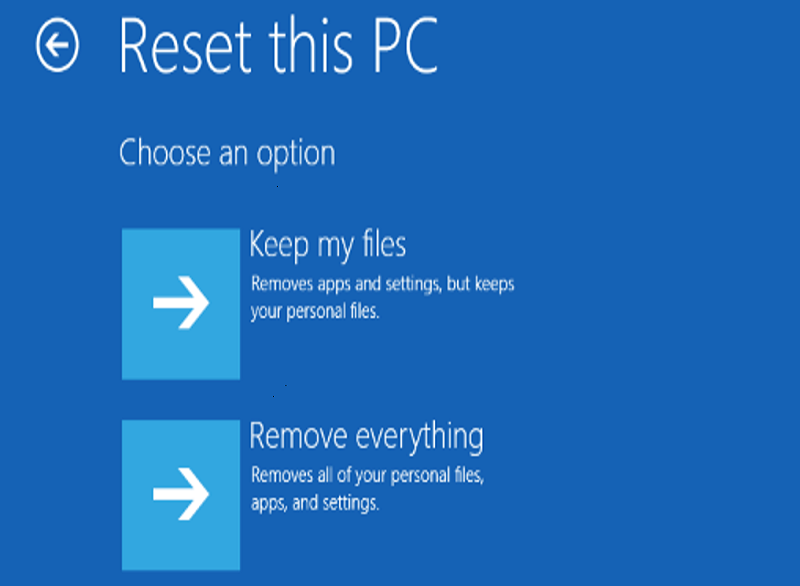
When you chose to refresh or reboot the PC, you are often encountered with the error “The drive where Windows is installed is locked. Unlock the drive and try again.” Now, there are 4 possible reasons behind the same-
- Mbr (master boot record) is damaged.
- Windows system files are corrupted or damaged.
- BCD (boot configuration data) is damaged.
- There are errors on the disk.
Now, you do not have to worry at all because we have listed a few of the methods by which you can easily get rid of the issue without any trouble or inconvenience.

Method One: Run Automatic Repair
- Insert the Windows DVD/USB and reboot the system.
- Boot from the media
- Click Repair your computer
- Navigate to Troubleshoot > Automatic Repair
- Continue with the wizard to complete the process
Method Two: Repair Your Computer with Windows Installation Disc
Step 1:
You have to prepare an installation disc or repair disk, either USB or CD/DVD
Step 2:
Connect the installation disc to your computer and boot from it to get the window below
Step 3:
Choose a language, a time, a currency, a keyboard, or an input method, and then click Next to continue.
Step 4:
Choose to Repair your computer rather than Install now.
Step 5:
Click on Troubleshoot → Advanced options → Startup Repair to fix problems that keep Windows from loading to unlock the hard drive.
See if the issue is resolved or not, if not, then try the next method listed below.
Method Three: Fix Boot-related Files with Bootrec.exe Tool
Step 1:
Insert the Windows bootable drive and boot from it.
Step 2:
Select your language preferences, and click Next.
Step 3:
After selecting language, press Shift + F10 to open Command Prompt.
Step 4:
Type bootrec.exe in command prompt and press Enter key to launch the tool.
Step 5:
Type the following commands, and each command should end with pressing on Enter key:
1- bootrec /FixMbr
2- bootrec /FixBoot
3- bootrec /RebuildBcd
Now, when the repair process is completed, try restarting the computer and see if the issue is resolved or not, if not, then try the next method listed below.
Method Four: Fix Disk Errors with CHKDSK.exe
Step 1:
Insert the Windows bootable drive and boot from it.
Step 2:
Click Repair your computer > Troubleshoot > Advanced Options > Command Prompt
Step 3:
Type the following command and press Enter.
Chkdsk C: /R or chkdsk C: /F
Step 4:
Type exit and press Enter to leave command prompt. After that, you should be able to refresh your computer or start Windows.
Method Five: Use System File Checker to Repair Missing or Corrupted System Files
Step 1:
Open Command Prompt.
Step 2:
Type sfc /scannow and then press Enter key to perform the operation.
Reboot the computer to see if the issue is resolved or not, if not, then try the next fix;
Method Six: Restore Windows
Step 1:
Boot the computer via the installation disc.
Step 2:
Select your language preferences, and click Next.
Step 3:
Click Repair your computer > Troubleshoot > Advanced options > System Restore.
Step 4:
Then, you will see the System Restore interface as follows. Now, click the Next button to continue.
Method Seven: Set the correct operation
- In this “Drive where Windows is installed is locked Blog” by Tech Gill, Boot from the install media as explained in Fix #4: bootrec until you reach Command Prompt.
- When Command Prompt appears, type this command:
Diskpart
- Press Enter
Then type:
sel disk 0
- Press Enter
Then type:
list vol
- Press Enter
- Check the volume listed by Command Prompt with FAT32at the Fs Once you identified the volume, type this command:
sel vol 2
- Replace 2 with the volume’s number.
- Press Enter
- You need to assign a new letter to this partition. The letter must be unique, e.g. it can’t be c::
assign letter x:
- Replace x: from the command above with a unique letter for this partition.
- Press Enter
- Wait for the confirmation message from the diskpart utility to appear:
DiskPart successfully assigned the drive letter or mount point.
- Then type
exit
- Press Enter
- Then type:
cd /d x:\EFI\Microsoft\Boot
- Make sure to replace x: with the letter you’ve assigned earlier.
- Press Enter
- Then type:
- bootrec /fixboot
- Press Enter
- Then type:
ren BCD BCD.Backup
- This will create a backup of your current BCD file.
- Press Enter
- Then type:
bcdboot c:\Windows /l en-us /s x: /f ALL
- Make sure to replace x: with the letter you’ve assigned earlier.
- Press Enter
- Remove the install media from the disc tray or USB port
- Type:
exit
- Press Enter
- Restart the computer
Conclusion
Thus, you see these are a few of the steps by which you can easily get rid of the issue. These steps are fairly simple and you will not face any difficulty by performing them.
Read other Blog: https://www.techgill.com/how-to-find-a-music-video-by-describing-it/
